

So began the hunt for a homemade plant milk alternative. Here were my requirements:
- Cheap – Obviously it would need to cost significantly less than it’s Aldi counterpart
- Quick and easy – Ideally only blending required, no straining please
- Good taste and texture – Al is super accommodating, but he does not like slimy milk (yuck! I really can’t blame him)
I quickly ruled out almond, coconut, hemp, and macadamia nut milk, due to the cost. That left me with oat or rice milk. I looked into oat milk, but it runs the risk of the slime factor, so that was out. (Supposedly you can soak and rinse to prevent the slime, but that would not be quick and easy enough for me. I know, so lazy.) So I was left with rice milk. Hurrah, that’s great news for an Asian!
So then came the question of whether to use raw, soaked, or cooked rice. Eating raw rice didn’t seem like a good idea to us from a health standpoint, so I tried soaked. It came out pretty good, but it required too much prework (I didn’t want to always have to soak for 2 hours first as there are times when we need it immediately), and it still fell into the raw category for us. So that left us with cooked rice.
I tried a couple super simple recipes I found online, but they tasted a bit too plain. Like just….rice water. Not milk. So after some experimenting, we came up with the perfect concoction for us. And we thought we’d share it with you!
Why We Like It
I finally found something that met all my lazy-mom requirements.
- Cheap – Think super basic ingredients
- Quick and easy – Just blend, chill, and shake
- Good taste and texture – Little Crumb Saver says it tastes just like her favorite Aldi milk and Daddy Crumb Saver announced it slime free
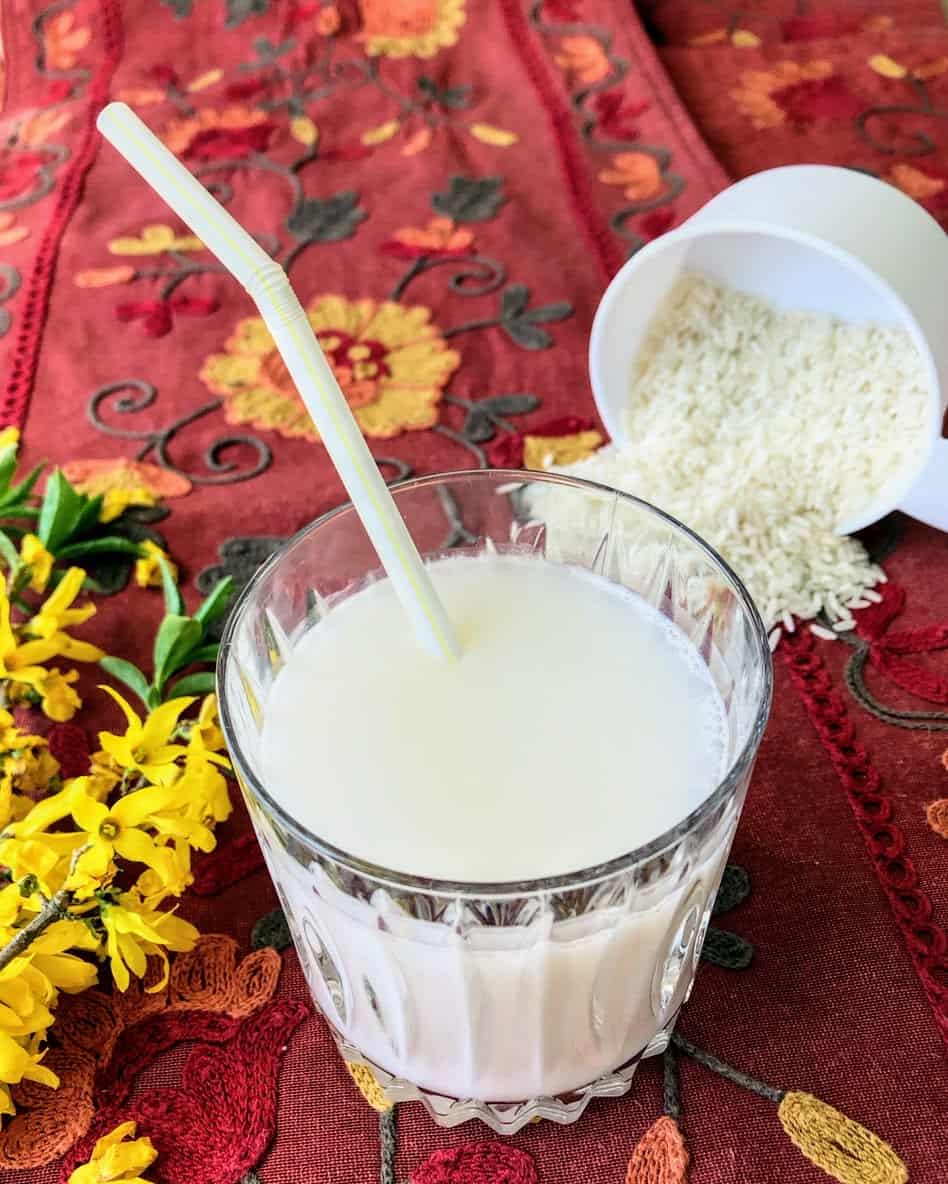
Here are the super simple ingredients:
- Rice
- Water
- Salt
- Sugar
- Vanilla
Final cost = Approximately $0.16 per half gallon. Yeah, that’s more like it. ????
Let’s Make It
Most recipes I found online preferred to use white rice over brown rice, and now I think I know why. I tried both, and the brown rice milk had a bit nuttier taste which I liked. But it came out slightly thicker and had just a hint of the mucus-y texture we were trying to avoid. I’m sure we’ll still use it whenever we happen to have leftover brown rice handy, but the white rice milk had a cleaner, fresher, smoother taste. Probably more like what we’re used to from commercial plant milks.
You can freeze leftover rice in portions and then pull it out to use whenever you need. But blending rice that is cold and hard is harder to get smooth than using fluffy rice. So if your rice is frozen, just microwave a little until is loses the hard texture.
This milk has just enough sugar to give it a hint of sweetness but not make it overly sweet. We cut the 2 teaspoons of sugar to 1 teaspoon for our version of “unsweetened” milk. Feel free to adapt the amount of sugar to your preference.
Dump all the ingredients in your blender and fire it up!
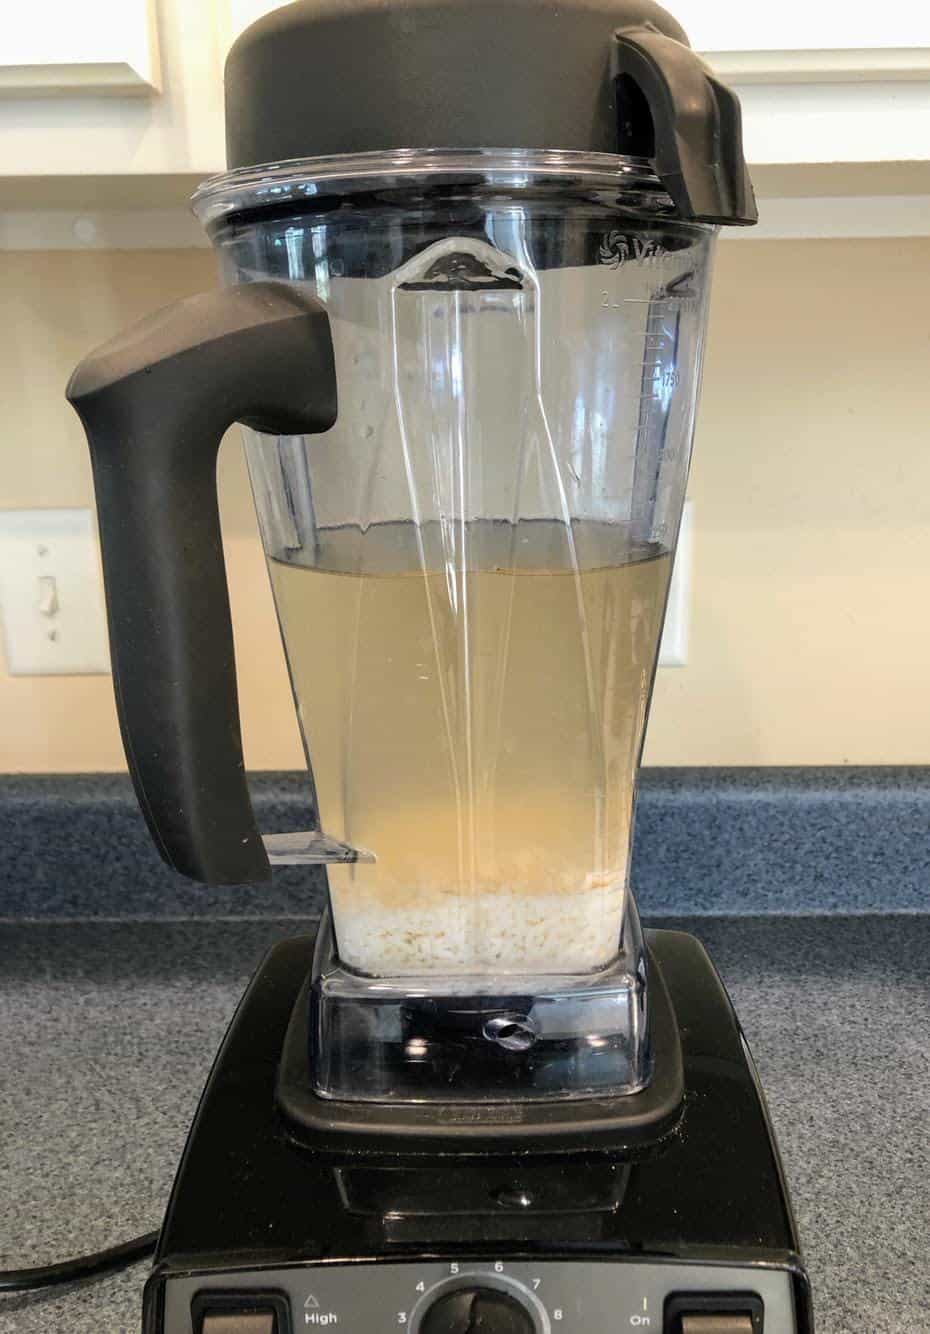
Before blending
The key to making this a good milk is getting it as smooth as possible. This is when the 2 horsepower on my Vitamix really came in handy. Blend it on high for a full 3 minutes in a Vitamix and more if using a lower powered blender. This minimizes the graininess and prevents the “rice sludge” that settles to the bottom if it isn’t blended enough. Since I don’t want to take the time to strain the milk, getting it as smooth as possible with the blender saves me that extra step. But if you want even smoother milk and are willing to take the time, straining the milk through a nut milk bag or cheesecloth after blending will make amazing milk!
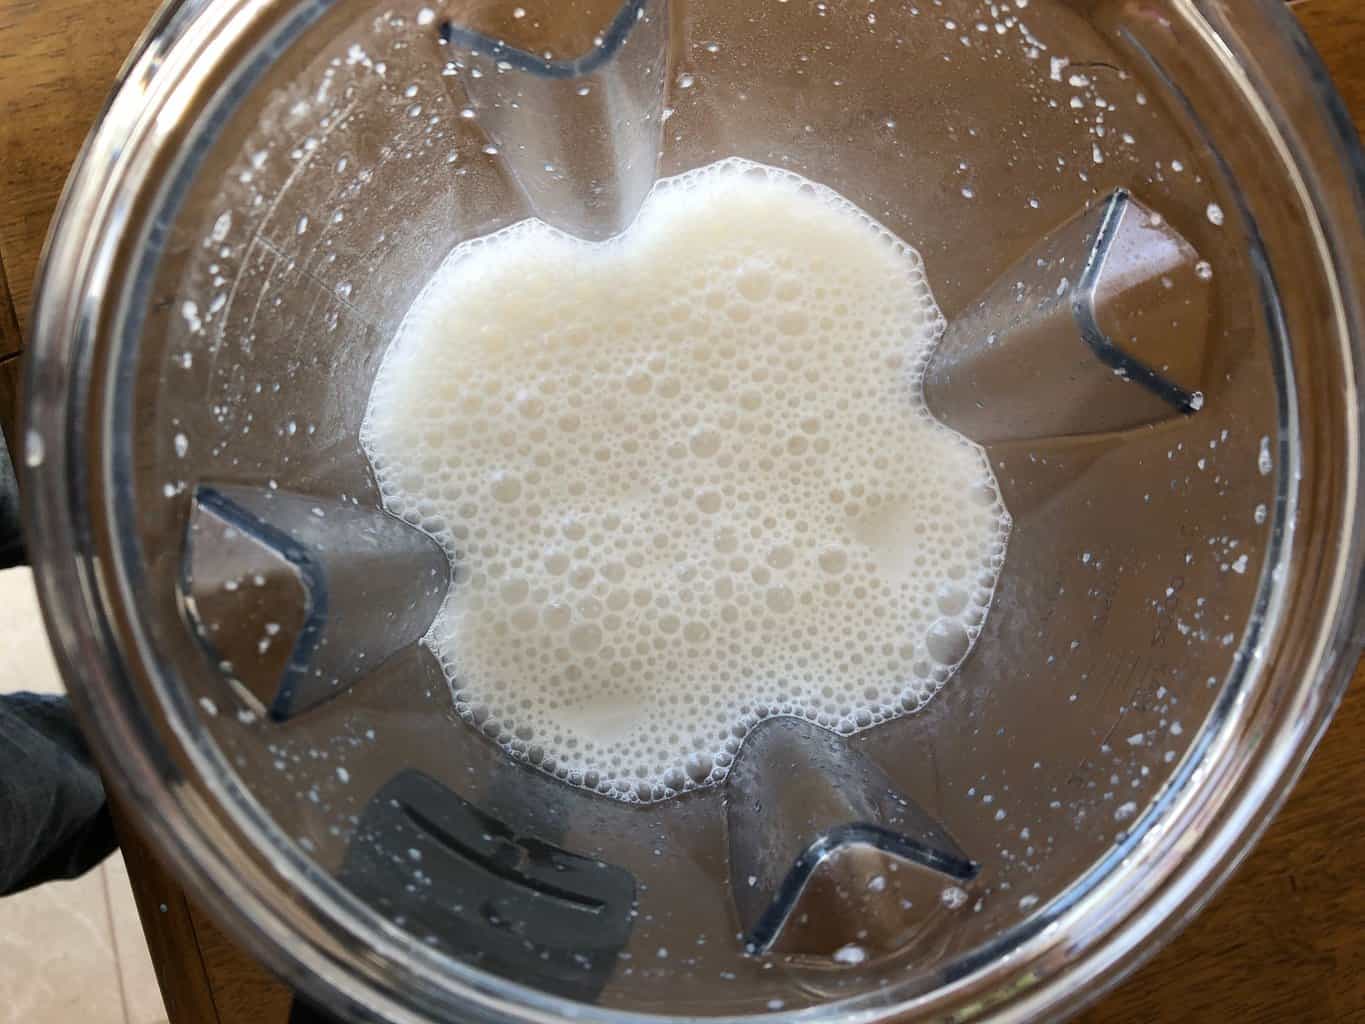
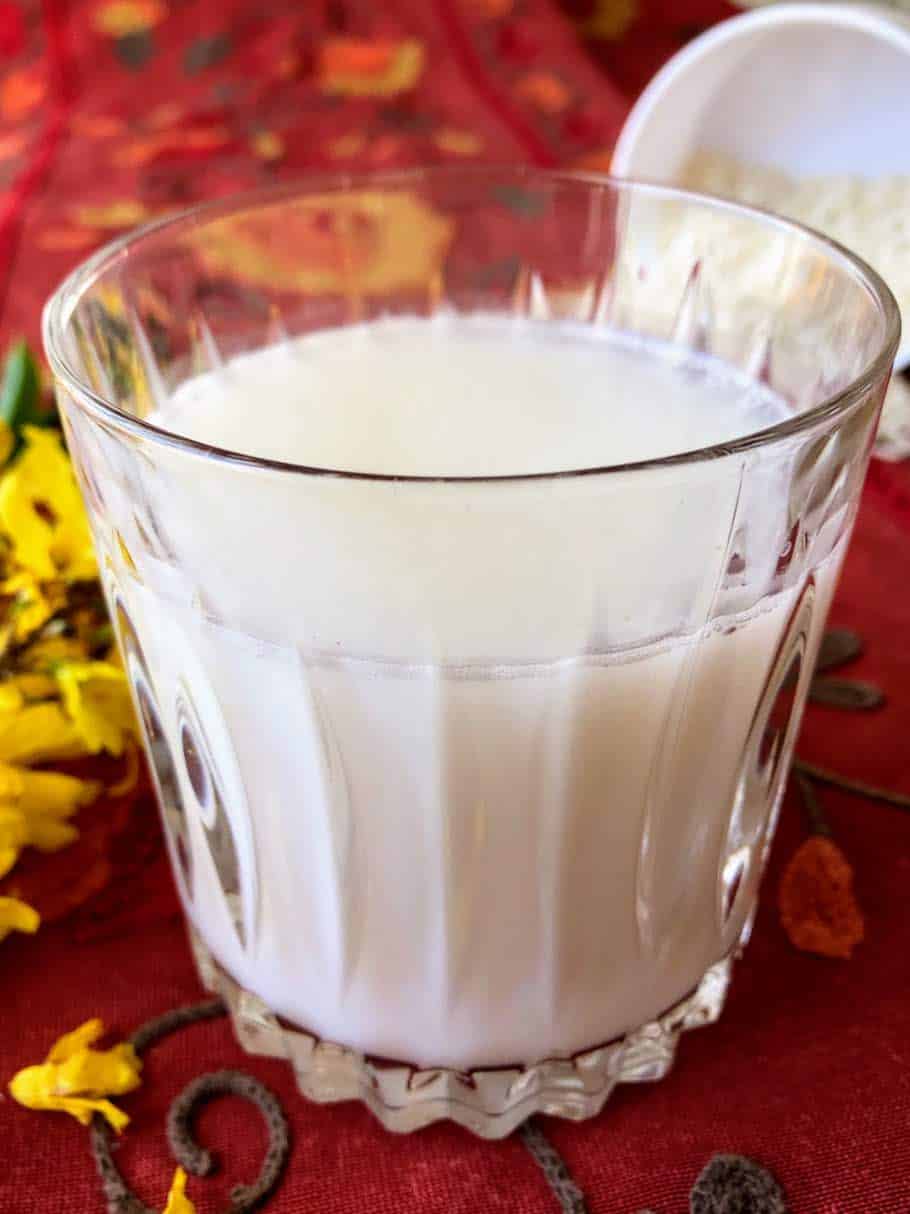
After blending
Since the milk is slightly warm after blending it to death, I like to chill mine before using it, but it is still great to use right away. Store it in the fridge and shake/stir before using.
This week we’re going to make a batch of our Easiest Cheapest Granola Ever and pour homemade rice milk over it for breakfast. Yum, now that’s a cheap, healthy, and delicious Crumb Saver breakfast! 🙂
Ingredients
- 1 c cooked white rice
- 4 c filtered water
- 1/4 t salt
- 2 t sugar
- 1 t vanilla
Instructions
- If rice is hard from being frozen or chilled, warm until fluffy.
- Add all ingredients to blender.
- Blend on high for 3 minutes (more if not using Vitamix or other high powered blender).
- Chill and shake before using.
Notes
- You can also use brown rice, but white rice produces a better texture.
- Filtered water helps the milk last longer in the fridge.
- We use 2 teaspoons sugar for a "slightly sweetened" milk, and 1 teaspoon sugar for an "unsweetened" milk.
- Add some carob powder for chocolate milk or some turmeric for golden milk!


