

Our philosophy as a crumb saver family has always been to be happy and content with a simple life. That goes for little Miss Crumb Saver too. So although she’s received lots of fluffy stuffed animals, colorful rattles, and Baby Einstein blocks, we still strive for her to be happy and content with such simple things as measuring cups, cardboard boxes, springtime flowers, and singing songs with Mommy and Daddy.
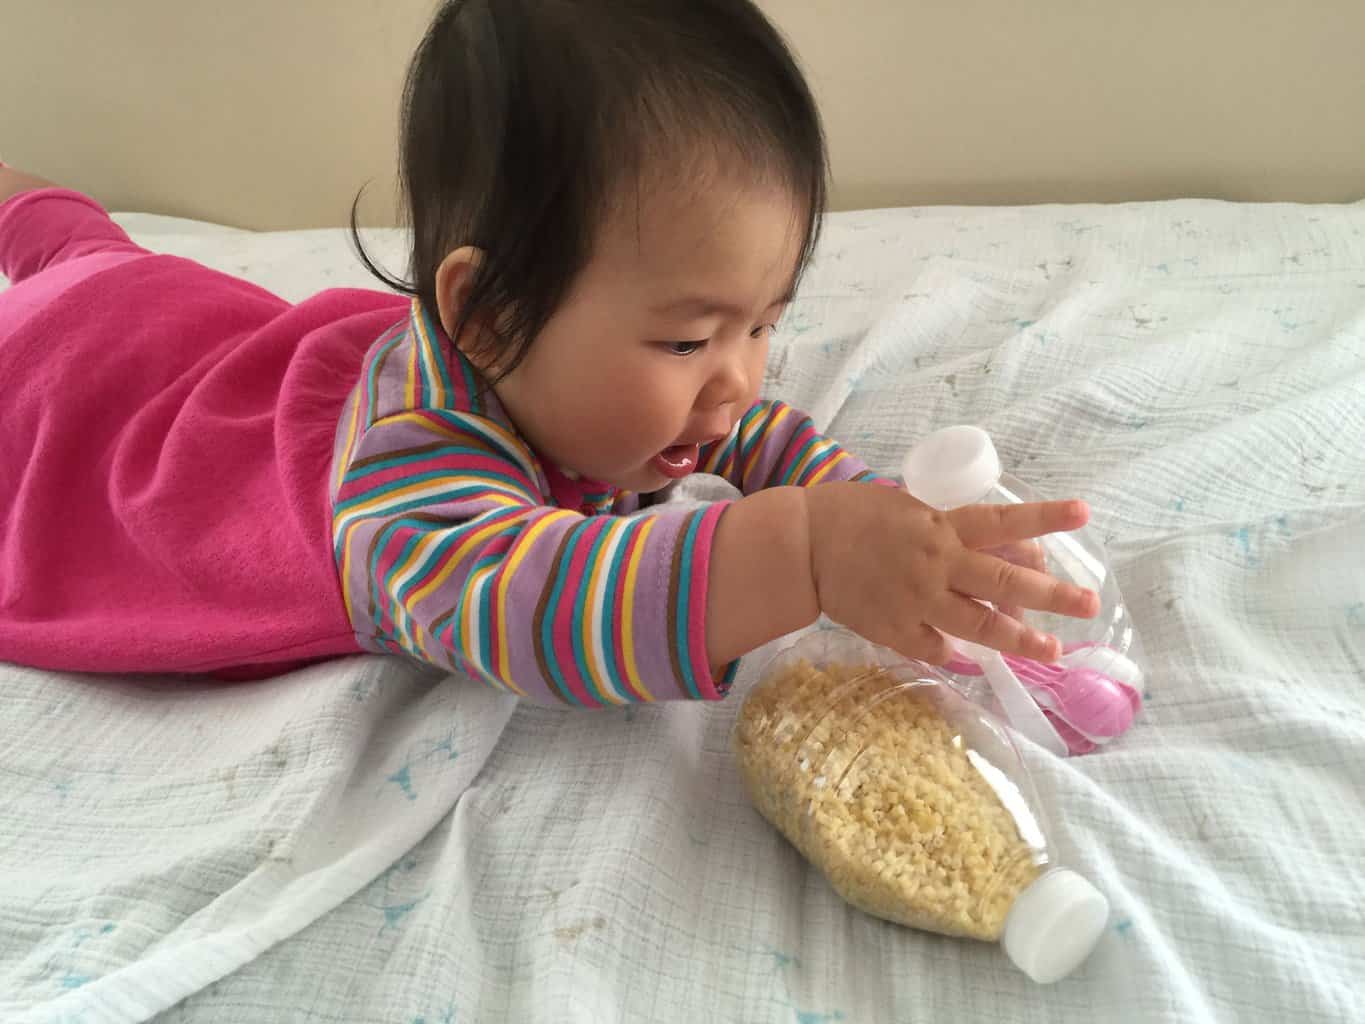
Recently, a friend posted a link to a great simple toy idea using empty plastic water bottles as “sensory bottles.” Basically, fill them with different colored and sized items and the baby can shake them and watch the normally off-limit contents at eye-level. Genius!
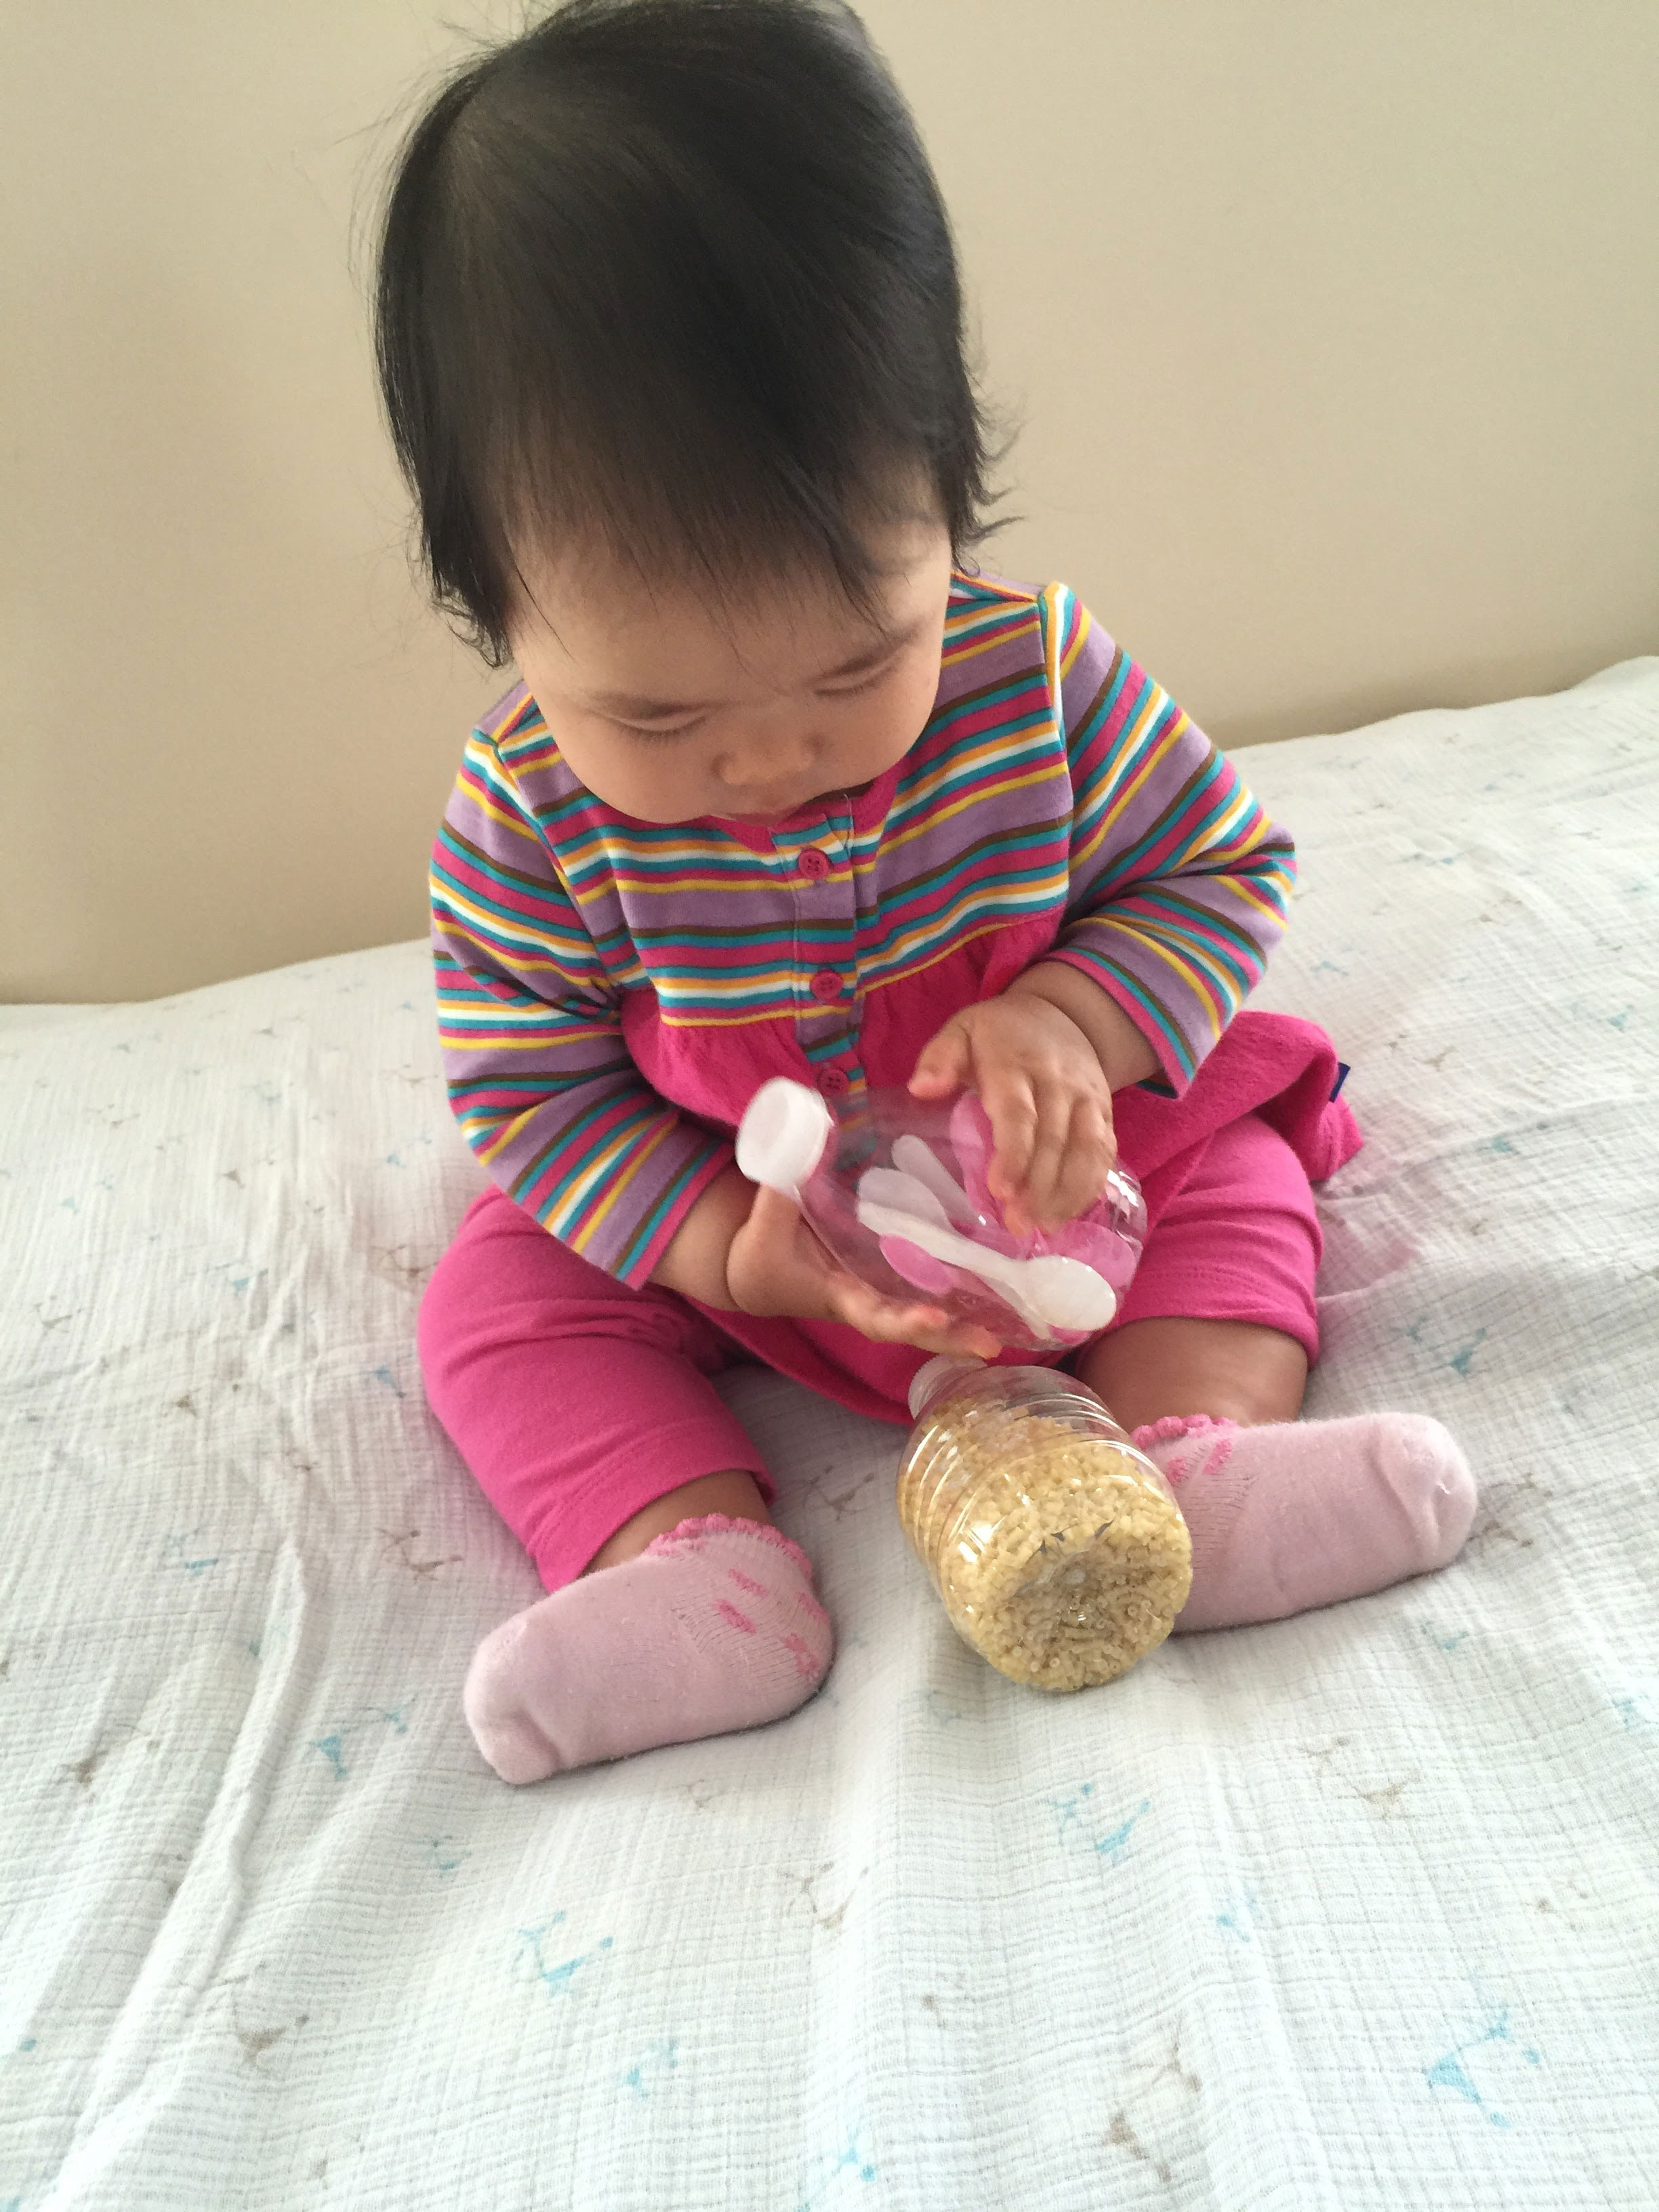
So we made our own, and voila! Baby Crumb Saver loves them! We filled one with small dry noodles and the other with ice cream spoons (saved from our free birthday cones).
A Few Tips
Here are a few tips we’ve learned while making our sensory bottles:
- Seal the lid with glue (or fill with kid-safe contents in case baby gets the lid off) – It’s always safest to glue the lid on. You don’t want baby swallowing marbles, poking her eye out with toothpicks, or leaking blue food coloring all over the carpet. The down side is you won’t be able to change out the contents, but hey, empty water bottles are cheap! (Since we were experimenting to see how Miss CS liked her bottles, we didn’t glue them at first so opted for relatively safe contents like noodles and spoons.)
- Keep bottles light for younger children – Little Miss CS would love to watch a bottle full of colored water and glitter, but a heavy bottle would be much harder for her to hold and manipulate.
- Aim for a variety of colors and sounds – The spoons make a low clanking sound and the small noodles make a high clinking sound. Don’t fill all your bottles so they have the same sound (or no sound at all).
- Change it up – There are a myriad of ideas of what to put inside, so change the contents/bottles every so often so baby can get exposure to lots of different objects.
 |
 |
Ideas
Here are some ideas we were thinking of trying. Best thing is, they’re things most of us already have around the house!
- Dry noodles – Macaroni, penne, rotini
- Dry beans – Small split peas or lentils, larger garbanzos or kidney beans, not only are they different sizes for different sounds, they’re also different colors!
- Popcorn kernels
- Nuts or seeds – Sunflower seeds, hazelnuts, peanuts, especially if they’re still in their shells to make more noise
- Food coloring – For older children, have a bottle for each color to help them identify the colors of the rainbow
- Soap – Add some non-toxic dish soup to the water so they can watch the bubbles.
- Oil – Add some vegetable oil to the colored water so baby can watch the oil globs float up and down
Of course, there are a million other colorful and crafty items you might have laying around your house or you could find at a craft store (beads, glitter, pipe cleaners, etc). You can check out these links for some great ideas:
Plain Vanilla Mom – Sensory Bottles for Little Ones
The Iowa Farmer’s Wife – Baby and Toddler Sensory Bottles
Great ideas for older children:
Familylicious – Science Discovery Bottles
Have you ever tried making these? What other everyday items would be great sensory bottle fillers?


